Tuesday, March 5, 2013

Procrastination=stuffie

Most Mom's announce their pregnancy to the world somewhere around 3 months along. Which gives their crafty friends and family an incredible 6 months to make something magnificent. I have never gotten a newborn baby gift to a newborn baby on time ever. I repeat..never. My hairdresser is no different. Six months ago, I knew she was having a baby. A few month after that, I knew it was a girl. She is giving birth soon and my last hair appointment with her is tomorrow. And, again, I have nothing. Gulp.
High five to me for destroying my 0 for (many) record with this sweet little owl stuffie. Isn't she just the sweetest?! I made her in an afternoon and didn't have to buy a single thing. It was a great way to use up some scraps and a perfect little something to display in a nursery or let a newborn snuggle up with. Or perched in a pine tree, where I hear owls like it best. Go ahead, click on the link, and get going on the many baby gifts you have been wanting to stitch up!

Wednesday, February 13, 2013

Blind hem stitch. Yes you can!


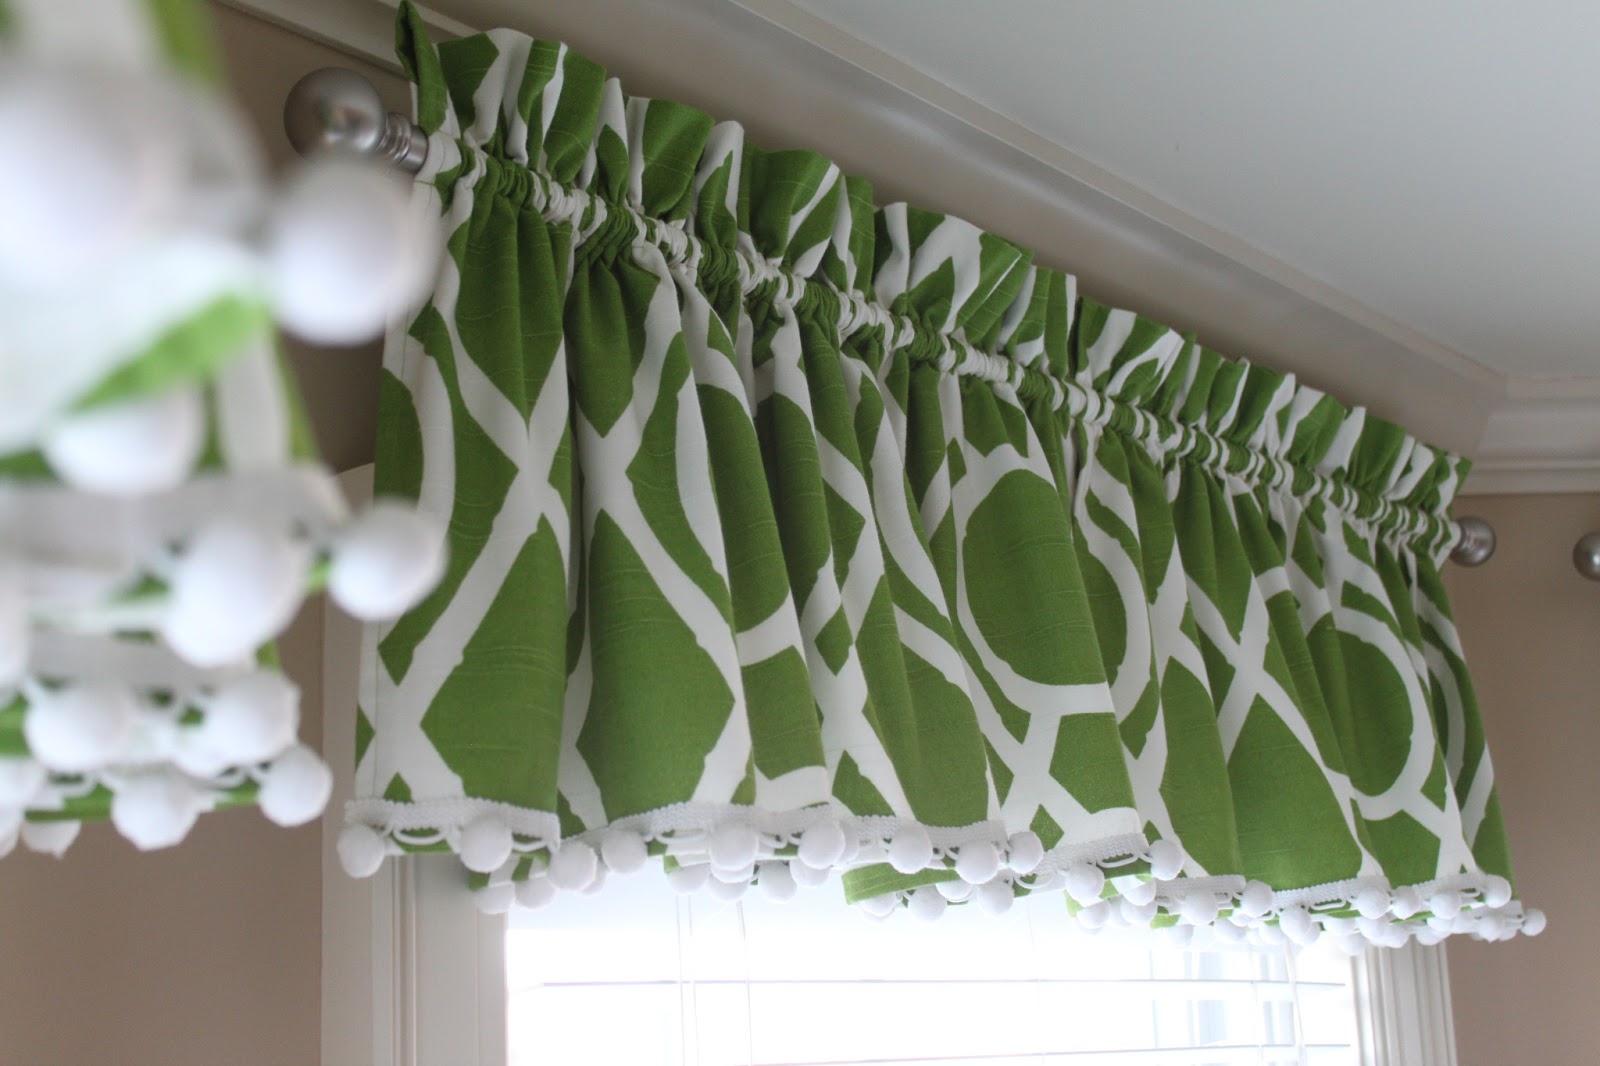
Want to give your drapes a more professional look? Want that bottom hem to virtually disappear? You're in luck! You can have both of those things with the help of your sewing machine and the easy peasy blind hem stitch. See the photo above? I dare you to find the bottom hem. Yep. It's there! Follow these very easy steps and before you know it you'll be playing "find the hem" with your family and friends, too.

First, mark your hem. I'm not keen on raw edges and this is an easy way to solve that. I put the right side of the fabric UP. For this example, I made a 1" mark across the entire bottom hem with my dressmakers pencil. See the blue marks there?

Head over to your ironing board and put the fabric right side DOWN. Make sure the marks you just made are closest to you. Get your iron nice and steamy, fold up to the marks you just made, and iron a nice crisp edge.

Now, fold over again and iron. Raw edge? Where?!

Now, stay at the ironing board and pin the hem you just made. Make sure the pins are facing toward the bottom hem. I'll show you why this is so important next.

Flip your hem under. See how the pins flipped, too? Now they are free to pull when you are sewing.

When you flip, make sure you leave a tiny edge of the print showing. This is the part the stitches will grab onto. To make sure I don't lose that edge, I like to iron it in place. You can just eyeball it, but if you are really hardcore go ahead and measure.  1/4" will do the trick.

So far so good. Time to enlist the help of your sewing machine. Locate and set your machine to the blind hem stitch. It looks like a fancy sideways "W" and is underneath the red light in the picture above.

And, grab the blind hem stitch foot. The white plastic piece and the little silver knob attached to it are important, necessary and will take some getting used to.

Normally, you would chose the thread that matches the front of your fabric, but I used blue so you can see the stitches when I finish. So, remember that little edge you left? That is what the white plastic guide will rest on. Place the edge of the fabric (the WRONG side up piece) right along the guide. The silver knob adjusts the guide and helps control where your stitches will land. You want just the very tip of the "V" stitch to catch the WRONG side of the fabric. This takes a little practice and I suggest trying the whole process, a few times, with a piece of scrap fabric. Now stitch the length of your hem pulling the pins out as you go. I know there are some that sew right over the pins, but the sound of the needle hitting them makes me want to run and hide!

 Now that you have finished sewing you can see how the tips of the "V" barely catch the fabric. That is what the guide is for and why it is adjustable.


If the "V" catches too much of the fabric, this is what you end up with. Instead of a smooth and undetectable finish you have a lump. No amount of steam will take it out. Get the seam ripper and try again!

Once you think you've got it just right, unfold the hem, iron flat and...

VOILA! Now, if those tiny blue stitches matched the fabric, they would completely vanish! Go back and check the first picture in the post to see for yourself! Please feel free to ask questions if there is something completely mind boggling about these instructions. I have never been good at explaining "how to." Happy blind hemming!


Wednesday, February 6, 2013

The house of windows

We have a lot of windows in our house. And, I have covered nearly all of them.

 I've made grommet curtains,

roman shades,

tab top drapes,

shirred valences,

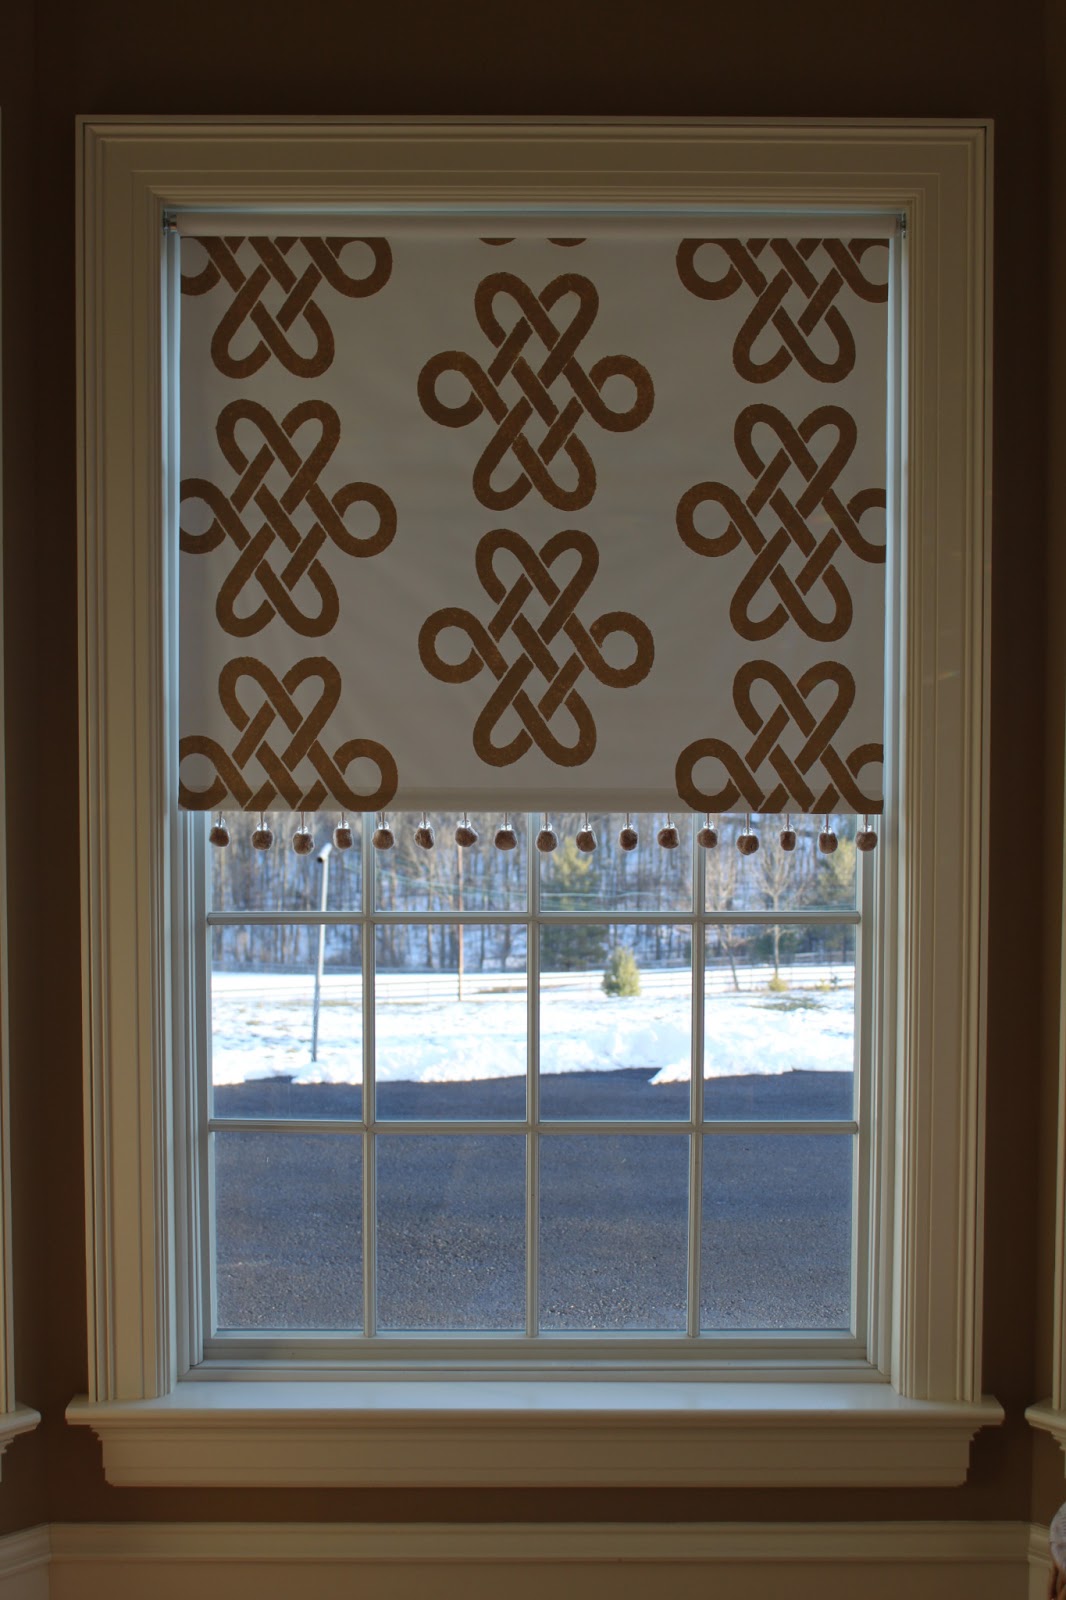
I have even stenciled vinyl roller shades. There couldn't possibly be one more window to cover, one more stitch to sew, one more style of curtain to hang. I thought so, too.
Until I found this to die for botanical print cotton. What to do with it? Of course! Pleated drapes for the living room! Timeless, classic, and according to my mother, the only style of drapes my great-grandmother every made. So, here goes nothing. Keep posted as I seam rip my way to a new living room......pinch pleats first!


Wednesday, November 2, 2011

Oh, the weather outside was frightful


October 29th brought the season's first snow. I can't say that I minded terribly, though it was strange to see snow on pretty yellow leaves. While K and I were inside making goodies for a Halloween party, the animals of the neighborhood were out having a good time. The horses continued to graze.

The dogs romped around the yard.

And these little guys ran back and forth for most of the afternoon. Seems the first snow even brings out the kid in them :)


Friday, October 28, 2011

Jack Frost


Today, in our little corner of the world, we woke up to the season's first frost.

The last of my snap peas aren't happy. Goodnight, garden. See you next year.


Friday, October 21, 2011

Chesnok red garlic


According to my great grandfather, garlic should be planted right after the first full moon in October. According to "The Garlic Guy" in our town, sometime within the 1st two weeks of October is good. I missed both deadlines, but figured late garlic is better than no garlic.


Let's hope my onlookers don't get a hankering for garlic bulbs!


Wednesday, October 19, 2011

All the leaves are brown...


...and the sky is gray. And, K isn't working today. Which makes it a perfect day for a cup of pumpkin coffee, a haircut for K at the good old fashioned barber shop (complete with good old fashioned barber's pole!), and of course,

playtime in the backyard for Bee and Lily with their new frisbee! I'm also working on our lunch, cheese frenchees (post coming shortly). This is a new stomping ground for me, but apparently a delicious sandwich from an old restaurant called King's Food Host. I've never deep fried a cheese sandwich, but here goes nothing. Everyone needs a little greasy goodness from time to time :)