|
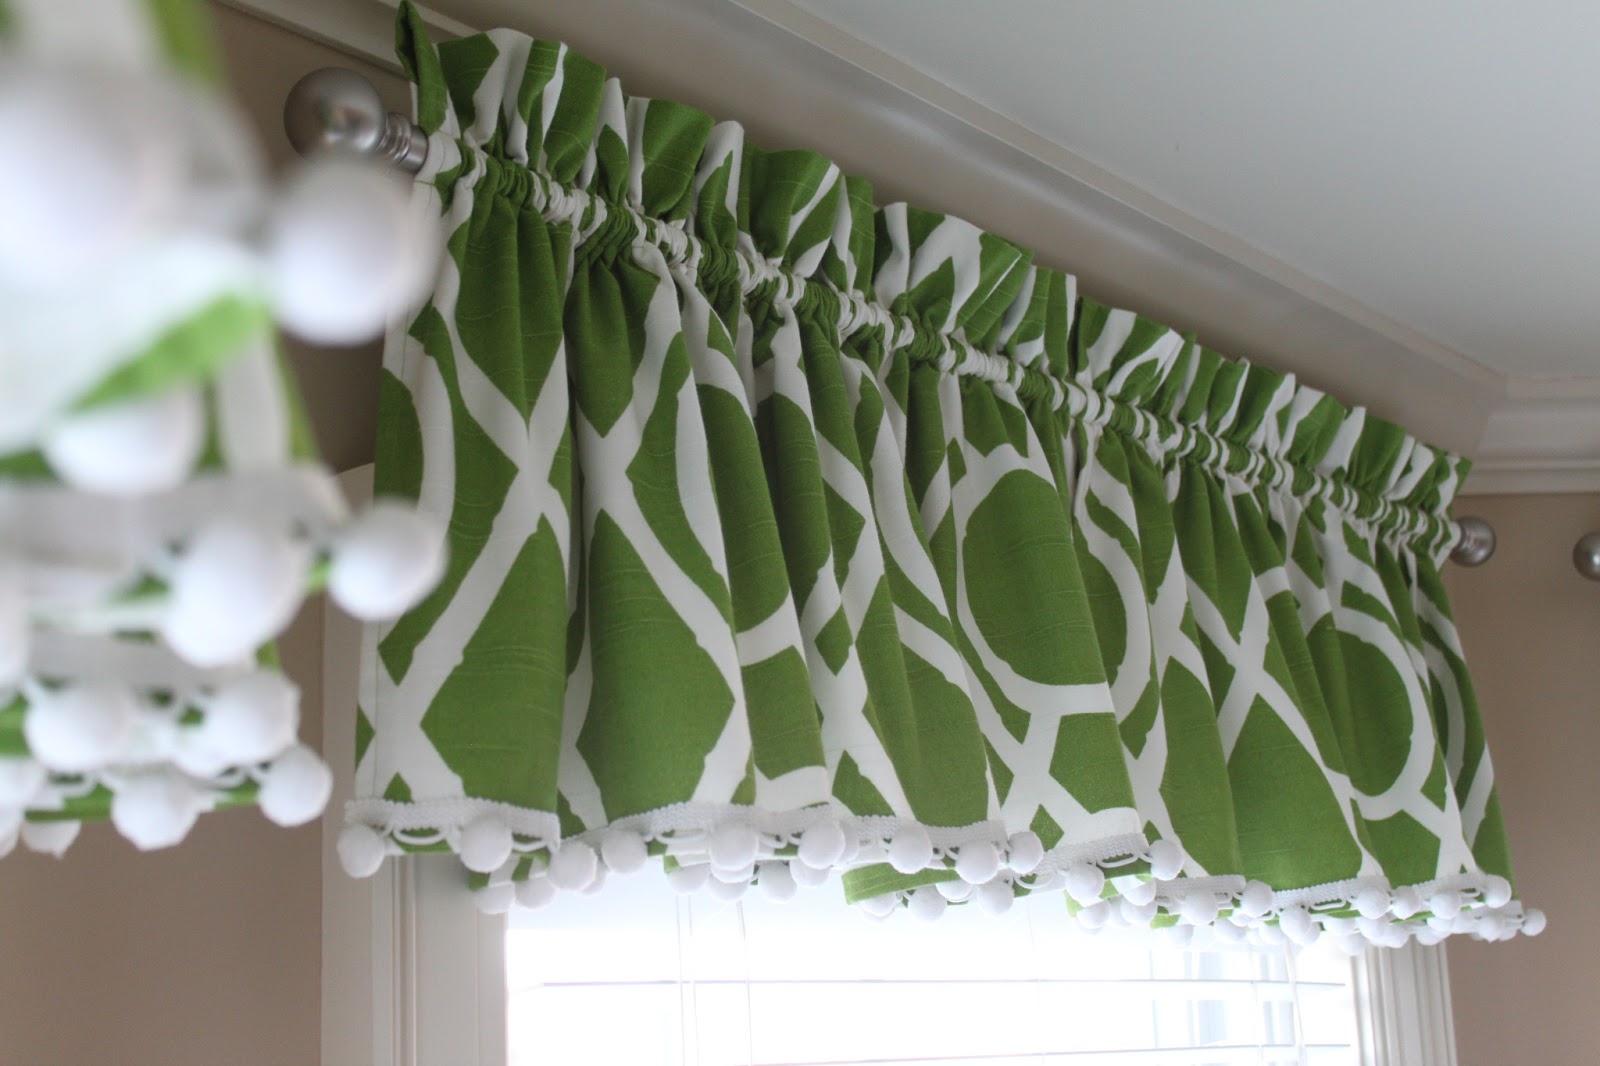
| Want to give your drapes a more professional look? Want that bottom hem to virtually disappear? You're in luck! You can have both of those things with the help of your sewing machine and the easy peasy blind hem stitch. See the photo above? I dare you to find the bottom hem. Yep. It's there! Follow these very easy steps and before you know it you'll be playing "find the hem" with your family and friends, too. |
 |
| First, mark your hem. I'm not keen on raw edges and this is an easy way to solve that. I put the right side of the fabric UP. For this example, I made a 1" mark across the entire bottom hem with my dressmakers pencil. See the blue marks there? |
 |
| Head over to your ironing board and put the fabric right side DOWN. Make sure the marks you just made are closest to you. Get your iron nice and steamy, fold up to the marks you just made, and iron a nice crisp edge. |
 |
| Now, fold over again and iron. Raw edge? Where?! |
 | |
| Now, stay at the ironing board and pin the hem you just made. Make sure the pins are facing toward the bottom hem. I'll show you why this is so important next. |
 |
| Flip your hem under. See how the pins flipped, too? Now they are free to pull when you are sewing. |
 |
| When you flip, make sure you leave a tiny edge of the print showing. This is the part the stitches will grab onto. To make sure I don't lose that edge, I like to iron it in place. You can just eyeball it, but if you are really hardcore go ahead and measure. 1/4" will do the trick. |
 |
| So far so good. Time to enlist the help of your sewing machine. Locate and set your machine to the blind hem stitch. It looks like a fancy sideways "W" and is underneath the red light in the picture above. |
 |
| And, grab the blind hem stitch foot. The white plastic piece and the little silver knob attached to it are important, necessary and will take some getting used to. |
 |
| Normally, you would chose the thread that matches the front of your fabric, but I used blue so you can see the stitches when I finish. So, remember that little edge you left? That is what the white plastic guide will rest on. Place the edge of the fabric (the WRONG side up piece) right along the guide. The silver knob adjusts the guide and helps control where your stitches will land. You want just the very tip of the "V" stitch to catch the WRONG side of the fabric. This takes a little practice and I suggest trying the whole process, a few times, with a piece of scrap fabric. Now stitch the length of your hem pulling the pins out as you go. I know there are some that sew right over the pins, but the sound of the needle hitting them makes me want to run and hide! |
 | ||||||||
| Now that you have finished sewing you can see how the tips of the "V" barely catch the fabric. That is what the guide is for and why it is adjustable. |
 |
| If the "V" catches too much of the fabric, this is what you end up with. Instead of a smooth and undetectable finish you have a lump. No amount of steam will take it out. Get the seam ripper and try again! |
 |
| Once you think you've got it just right, unfold the hem, iron flat and... |
 |
| VOILA! Now, if those tiny blue stitches matched the fabric, they would completely vanish! Go back and check the first picture in the post to see for yourself! Please feel free to ask questions if there is something completely mind boggling about these instructions. I have never been good at explaining "how to." Happy blind hemming! |